Last week I shared a bit about how I package up orders, focusing on the outside of the packages that I send. It may seem like a super micro aspect of a small biz to focus on, but when your main contact with a customer is through the mail, things like the envelope, the packing tape, heck– even the address, do really matter. In this post I’m focusing on how I package my puppets themselves, and how orders are packed up for shipping inside the envelope. I’ve always tried to make environmentally responsible choices with my business, and with that I try to avoid using materials that aren’t sustainable. This led me to avoid packaging my puppets in plastic bags for a long time. (Though I did experiment with compostable bags, I was never very happy with their durability.) I figured out quickly that in a retail setting, a plastic bag is a necessary evil for an item that can be damaged by too much handling, but for a long time I held out and didn’t use bags on puppets I sold online. For the first five years or so of running things, I sent puppets “naked,” wrapped up in a sheet of vintage pattern paper tissue, and then added baker’s twine into my shipping repertoire five or so years ago (I’m still using the same cone of it!), tying the order up in a little paper bundle.
 Back in 2008, I happened upon a box of vintage yellow cardboard tags in a dusty fabric store, and was inspired to use them to add notes to my packages. The tags were the perfect option becasue the hole at the top was perfect for attaching with baker’s twine. The tags were a fortuitous discover in more than one way– the yellow color also helped inspire my rebranding a few years back.
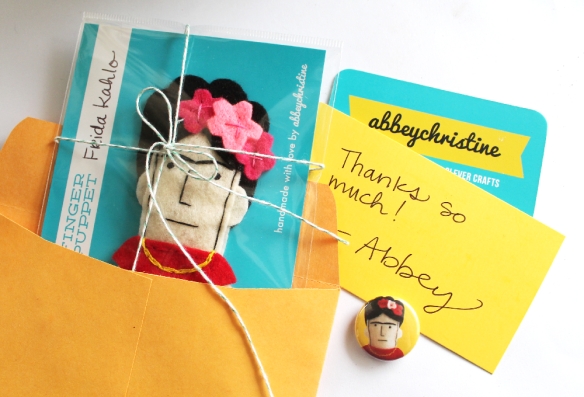 Eventually I decided that it was time to up package game, and having some puppets that were bagged or retail and some that were loose for online orders was taking too much time to keep straight. I decided that all puppets would be packaged, regardless of where they were sold.
Around this time, I also had a brainstorm about the tags I used in my puppet packaging. For a long time my puppets were in bag-and-topper style packs– a bag at the bottom and cardboard topper folded and stapled at the top. I used to purchase the toppers printed five or six to a page, then cut, score and staple them myself. I can tell you that this was far from my favorite job, but it got the job done. In addition to being way too labor intensive, the cardboard toppers didn’t lend themselves so well to display. Behind the puppet was a clear bag, meaning that there often wasn’t a great background to show off the puppet itself. And while the topper could hung with a clip for display, more often than not I would get puppets returned from retail shop with a hole punched through the top, which would end up getting worn, ripping, and generally looking sloppy.
 I finally had the brainstorm that the proportions of my puppets would display perfectly against a standard 4×6″ postcard, and there were bags that came with a retail-ready hang hole that could hold them both. I started sketching out ideas for a card that could serve as a background for the puppet. My original design (pictured below) allowed the name of the puppet to be written at the top, but that proved problematic since certain designs are taller than others. I eventually settled on my current layout, which features the puppet’s name written vertically along the side. This backer makes use of the negative space around the puppets, and packs them into a slick little packs, safe and secure for retail, and presenting nicely as a gift.
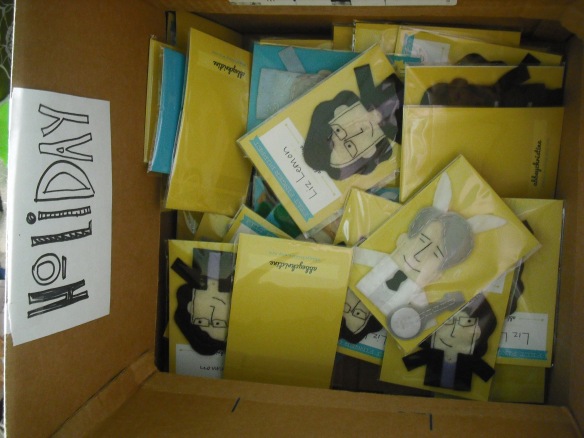
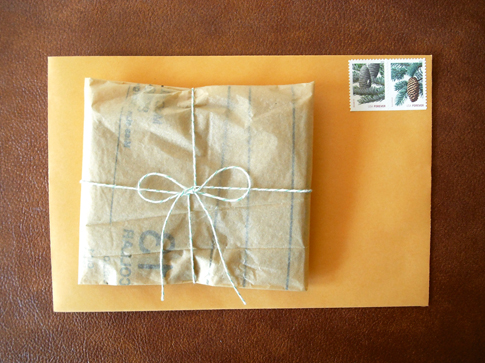
 I still pack up each order with baker’s twine, though the tissue paper wasn’t really necessary for protection once the puppets were enclosed in a bag with the cardstock backer. I still attach a yellow tag to each order with a hand-written note, and to the note I now also attache a 1″ button of the puppet that they purchased, or for the few that I haven’t made a button for, a few stickers.
I used to sell the buttons individually through my shop– and do still sell them at in-person events– but I decided that they worked better as freebies within online orders. Since my puppets are most often bought as gifts, I like that the button gives the buyer the option to add it onto their friend’s present, or– if the character is someone they love, too– they can keep the button for themselves. Either way, that little freebie keeps on advertising everywhere it goes, and works as a conversation starter.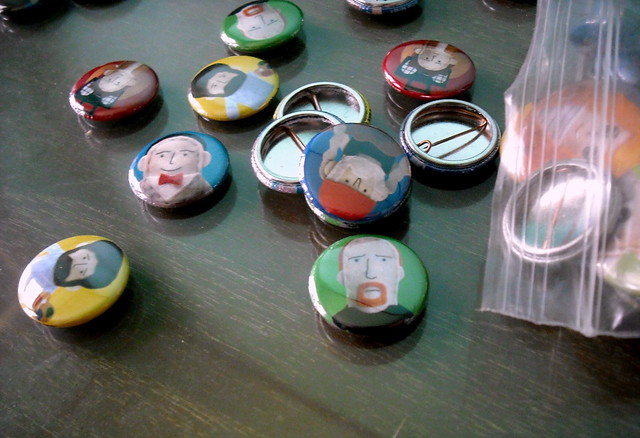
So there you have it– everything you may (or may not) want to know about how I package orders. Each decision has been thought through, pros and cons weighed, and ultimately decided on to give the buyer the best experience I can possibly create when opening up their order.
So, over to you– have you gotten a package from me? What did you think? What are your favorite tips and tricks for sending online orders, or the best ones you’ve ever received? I’d love to hear!
In case you missed it, check out Part 1 of this packaging series.


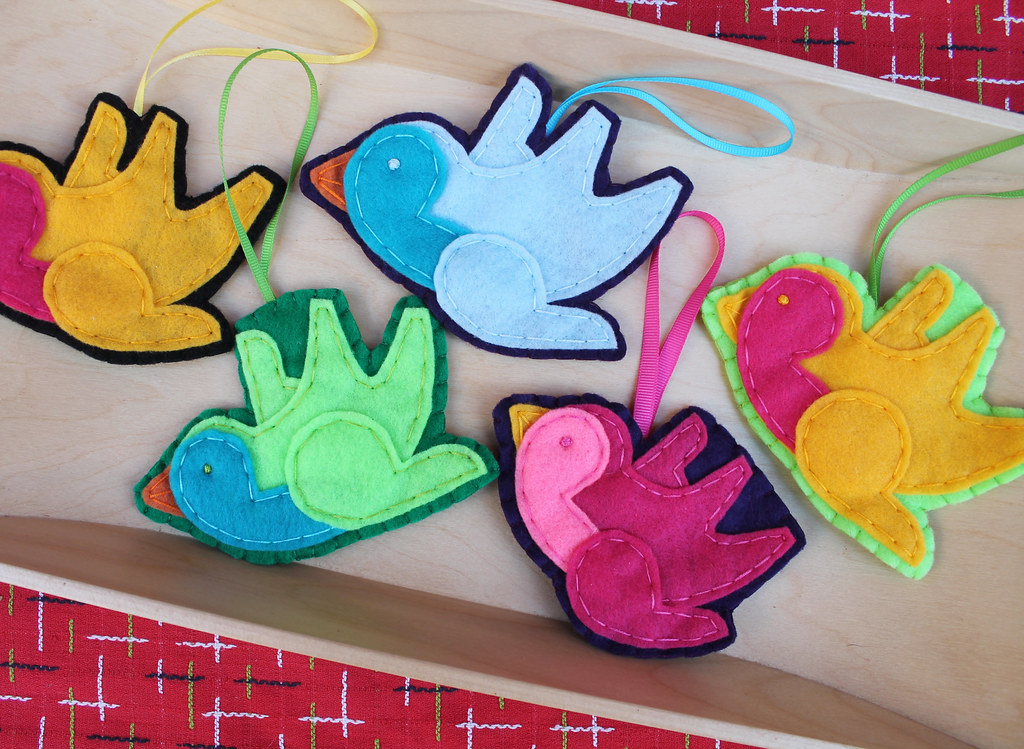
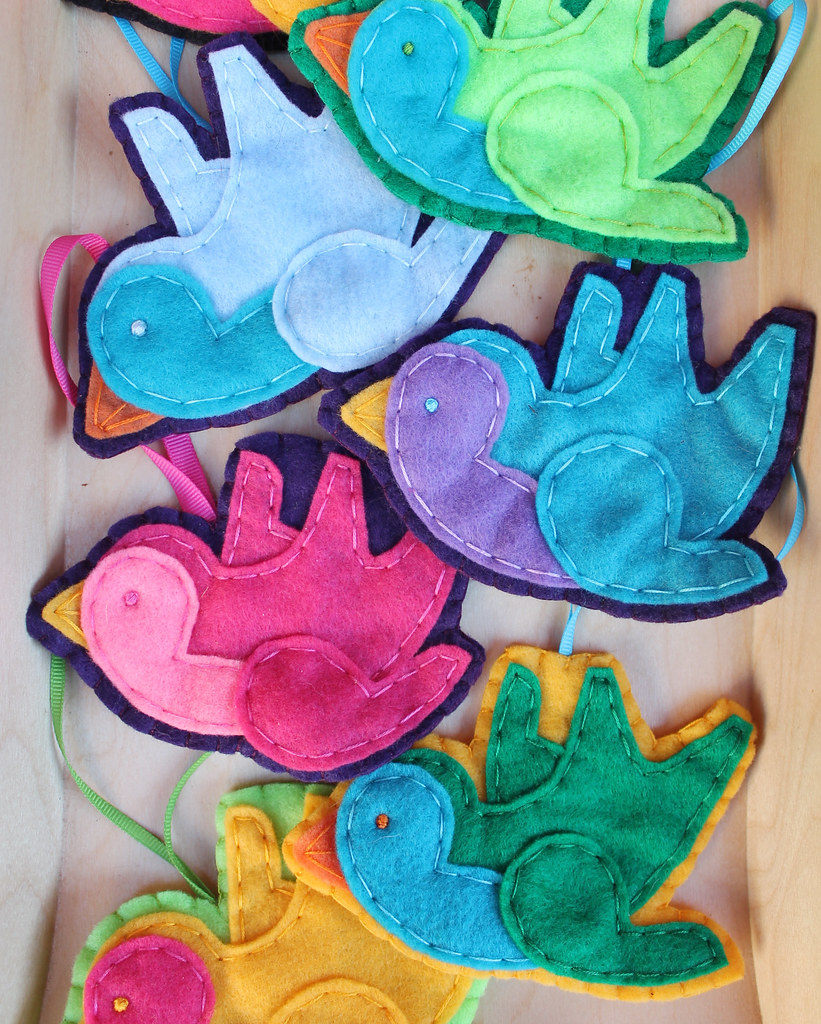 These candy-colored avians are inspired by classic tattoo illustrations, and a variation on a
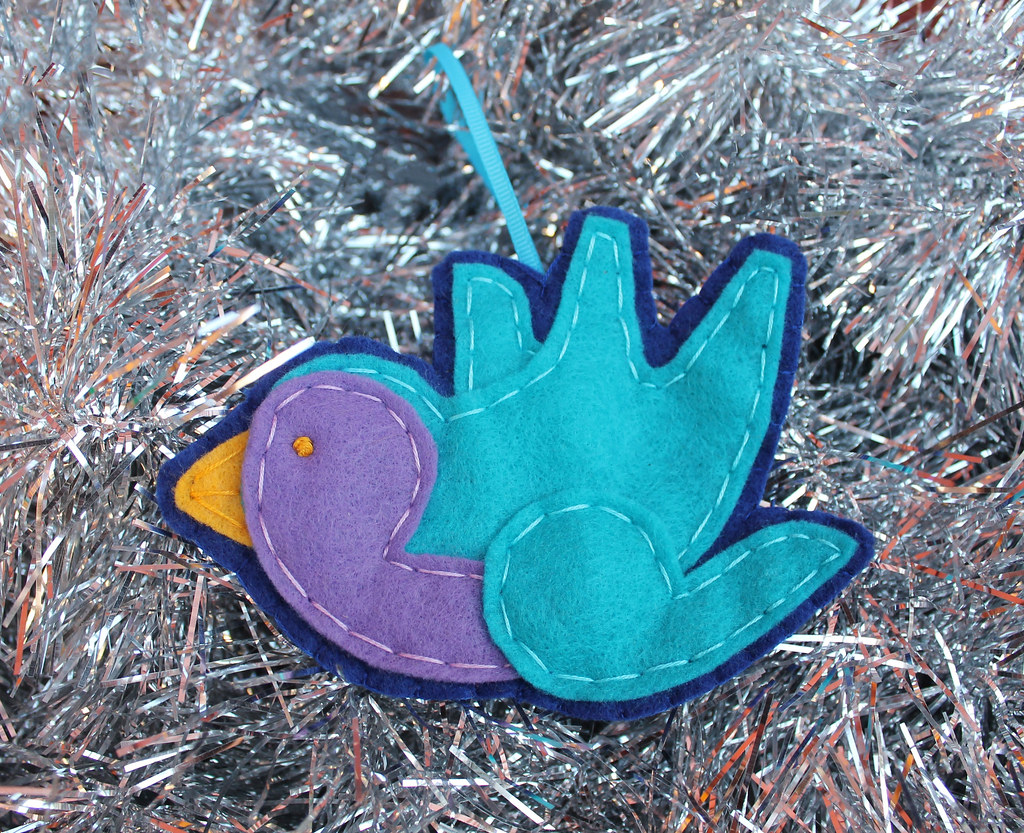
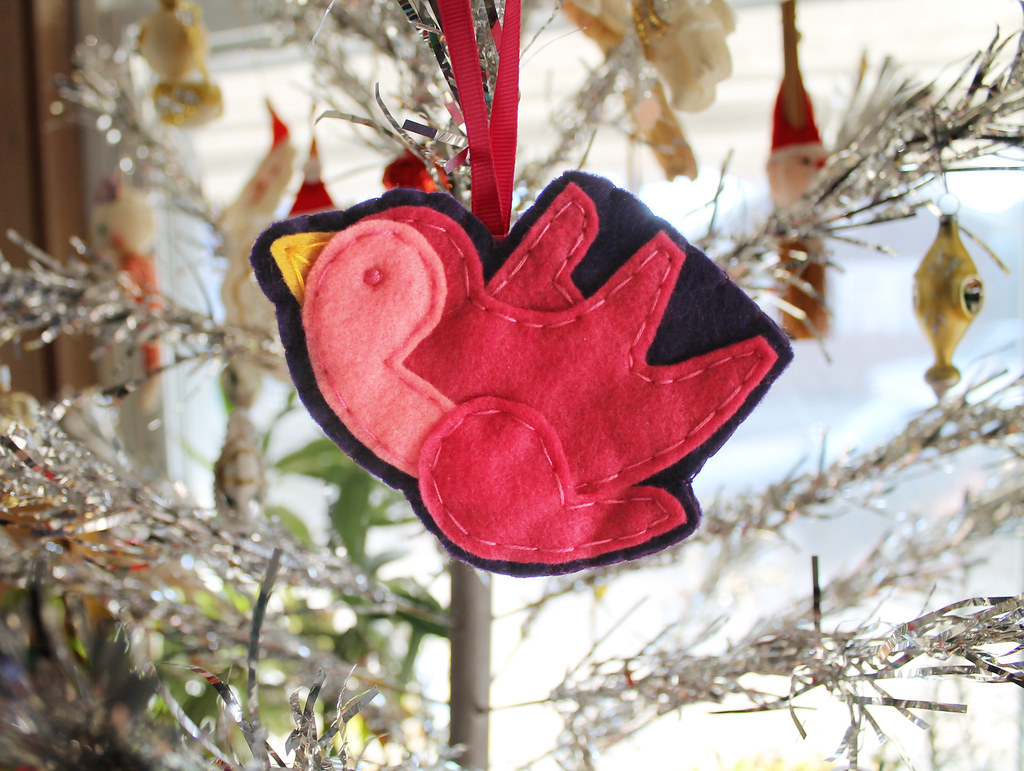
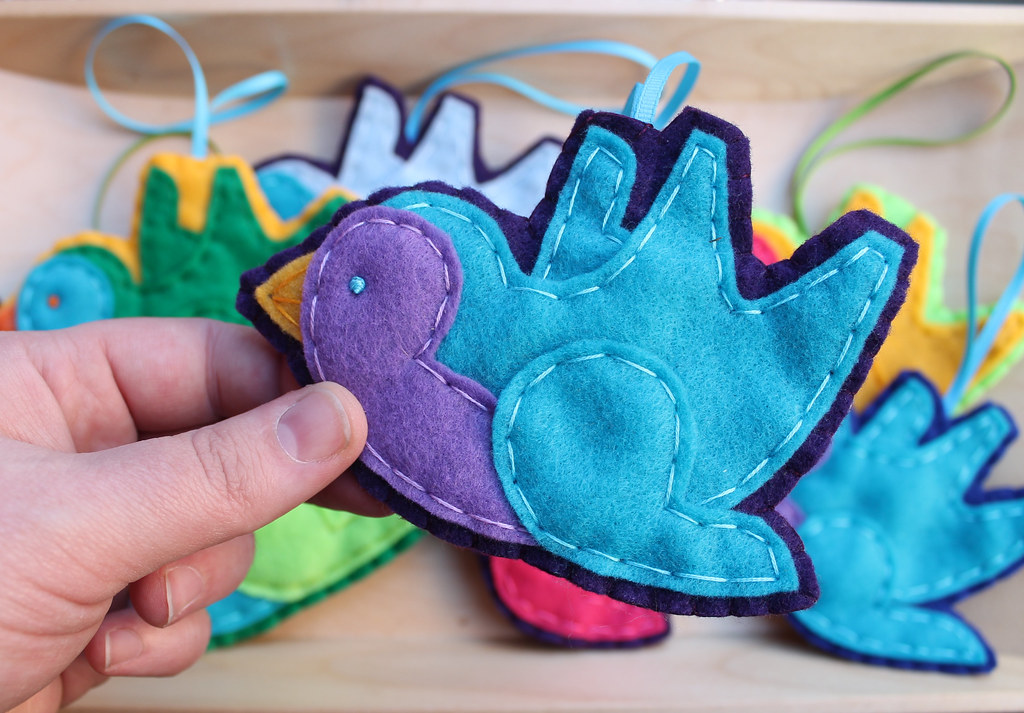


 Who needs a photographer when you can Photoshop the mess out of the background yourself ; )


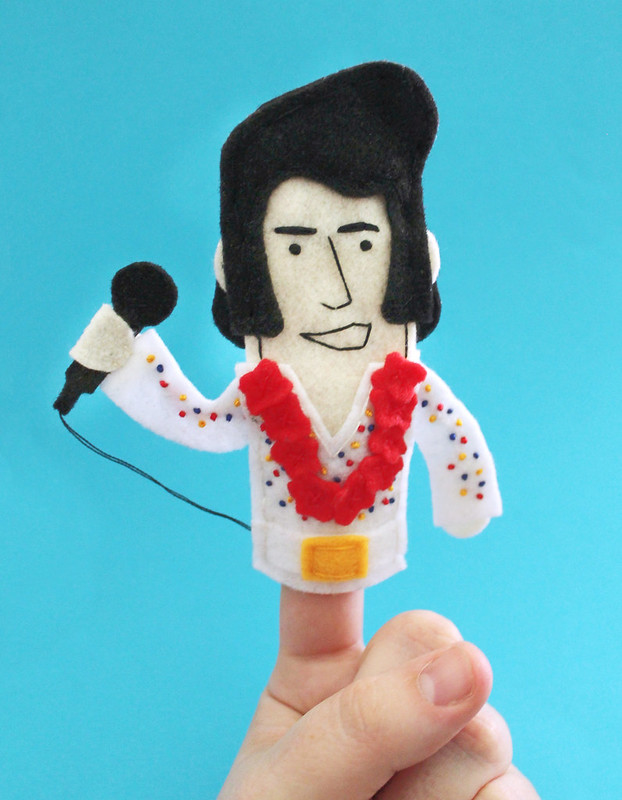
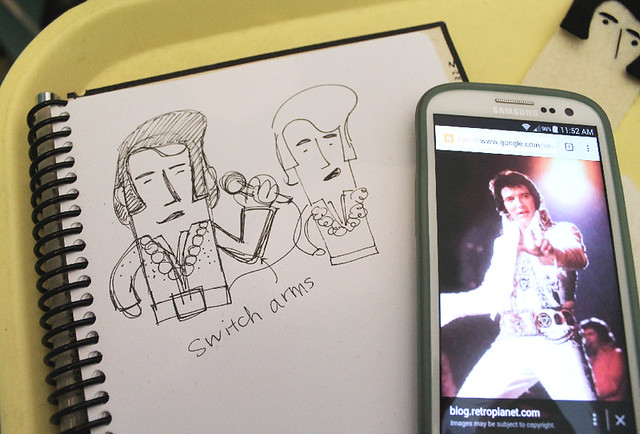 It was surprisingly difficult to find good detail photos of Elvis’ white suits (of which there were multiple, I discovered), but I did figure out that the red, gold and blue rhinestones in the “Aloha from Hawaii” suit were in the shape of an eagle. Who knew, right?
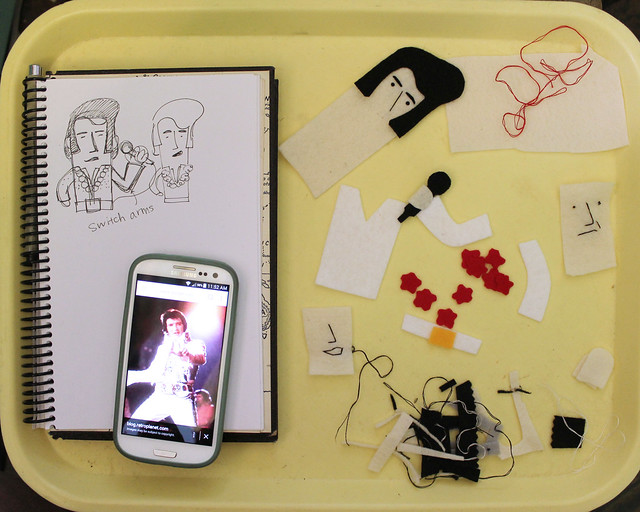
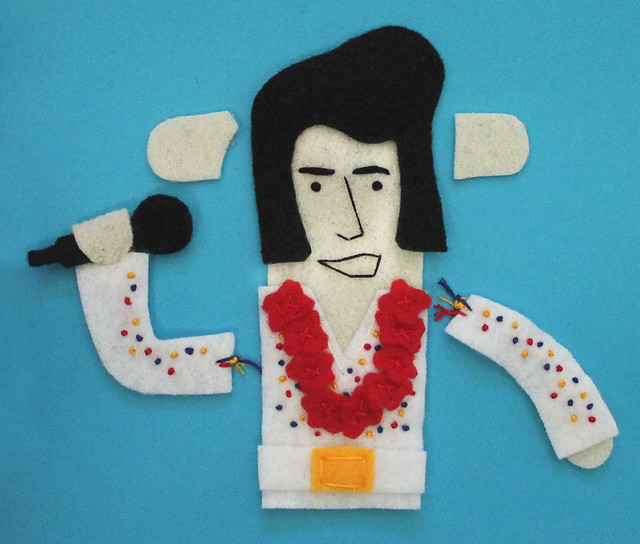 Once the parts are all cut to size, I’ll start piecing together the body and sewing in details. For Elvis, this meant that crazy suit. I wasn’t quite brave enough to try to do the eagle pattern with the rhinestones, but I think the dots keep the spirit of the bedazzling. And the red lei was a must, of course. When in Hawaii, right?
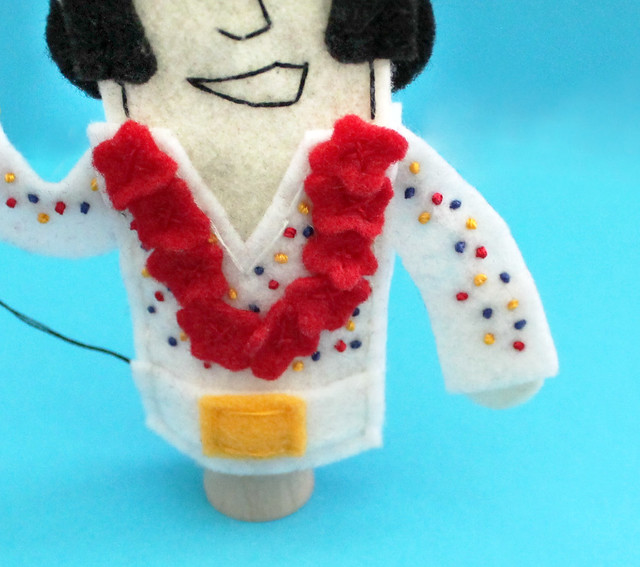 I’ve done a few puppets with microphones before. Because they’re so tiny and have to be free-standing, it’s tough to get much detail, but I decided that the finishing touch for Elvis would be to have a black cord coming from the bottom of the mic. I had to experiment a bit to figure out how to attach it at both ends, staying taught enough without pulling the arm in. With a little finessing, I’m thrilled with how much that small detail adds to the design.