Volcano Birthday Blast

Last summer we took Henry to see his very first movie, “Inside Out.” We all loved it, but afterwards, when anyone would ask him what he likes about the movie, he’d say “the volcano!” He liked the story of Joy and Riley, sure, but what really made an impression was the short before the feature, Lava, about a sweet volcano couple singing an infectious Hawaiian song.

The obsession stuck with him, and the song has even made it’s way into our nightly bedtime routine. So when we asked Henry what kind of birthday party he wanted this year, it came as no surprise when he requested a volcano party.

Volcano birthday invitation

The piece de resistance of the party would be, of course, a volcano cake. I scoured Pinterest for ideas, but found it tough to find volcano-themes that weren’t dinosaur or natural disaster-related, or frosting lava that didn’t look super unappetizing. Making the volcano structure also looked to be a challenge. There were some cute ideas for using rice crispy treats to mold a cone shape on top of a regular cake round, but I wanted a cake you could actually eat all the way through.

I decided to give cake carving a try for the first time, and did a test run the weekend before Henry’s birthday. I had two 8″ cake pans and a tiny 6″ one we’d used for the smash cake I made him for his first birthday. With some carving, I was able to get mid-size layers that worked, and smooth out the edges pretty well with frosting.

Volcano Cake Test Run

(Please ignore the two-tone frosting–I ran out of the original. That’s why you do a test!)

On the Friday night before Hen’s party, I baked up six cake rounds and put them in the freezer overnight. On Saturday morning, I brought them out and started piecing together and carving. I settled on five layers with one cardboard support in between, and a taller, thinner shape than the test volcano. The top layer had a hole cut in the center to anchor the cotton candy that rose from the top as smoke.

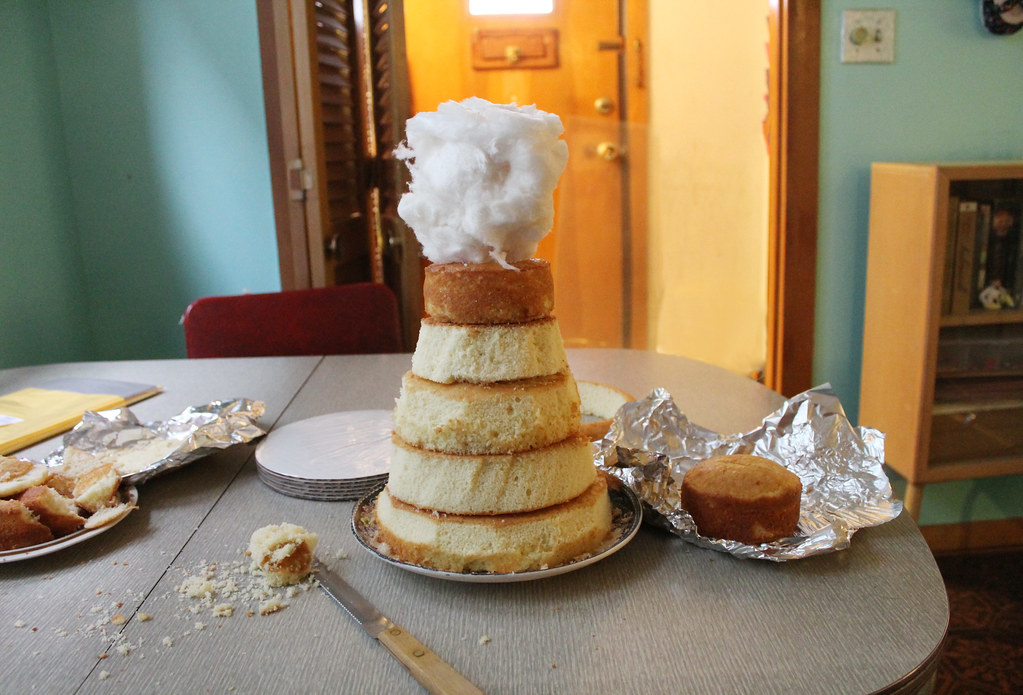
The cake came together surprisingly easily. After setting the layers up, I popped it back into the freezer for an hour or so and then got out the icing. I’d decided to surprise Henry with a peanut butter and jelly cake, in honor of his current favorite food. We went with white cake with raspberry jam in between the layers and a crazy good peanut butter/cream cheese frosting discovered from this recipe.

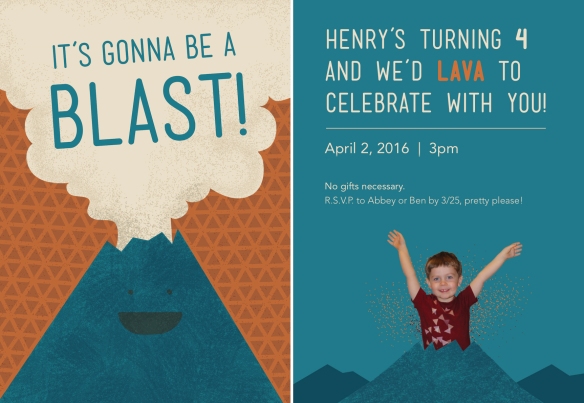
The frosting was thick and adhered well, and as it set up I was able to smooth out the texture. The peanut butter also gave it a nice brown, vaguely mountainy color. I decided at the last minute to dye some coconut and put it around the platter for grass, and finally relented to adding jam lava, which is still a little gross looking, but worth it 😉 Finally, the volcano was topped off with the cotton candy smoke to mimic my illustration from the party invitation.

Volcano Cake

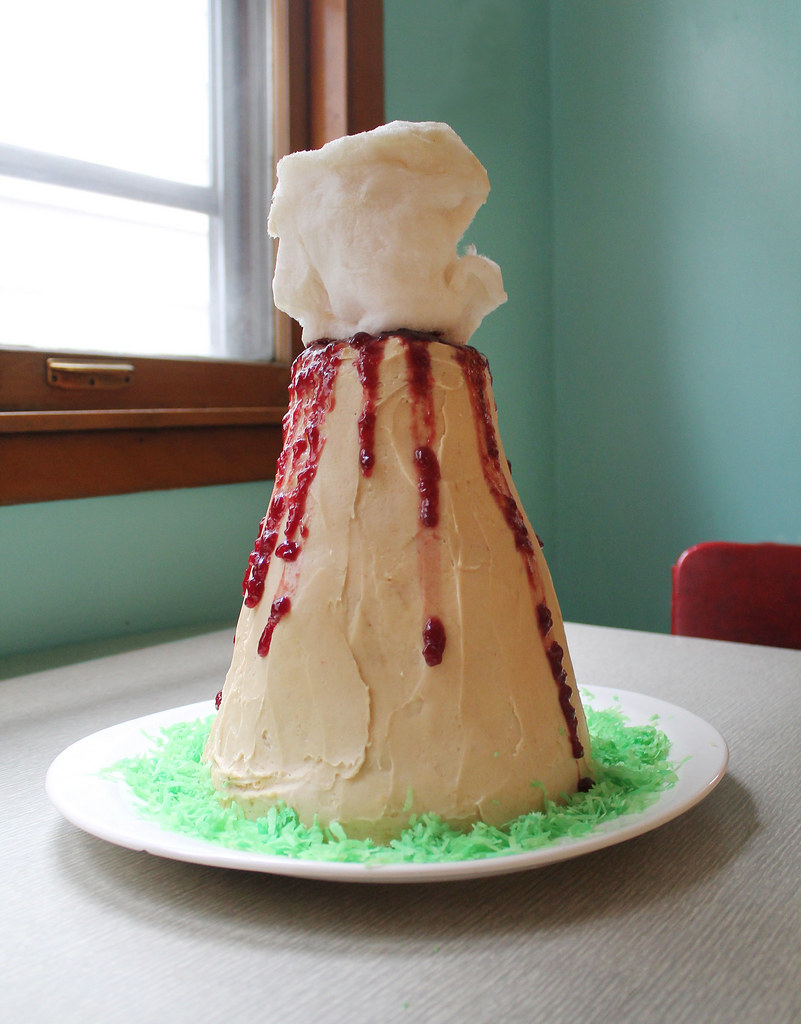
Luckily, besides looking good, the cake actually tasted good, too. Unfortunately the smoke didn’t hold up so well on the unusually-humid day, and it ended up wilting into a weird, crystalized mess by the time the party started. But the rest held up, and I have photos to remember the smoke’s original glory.

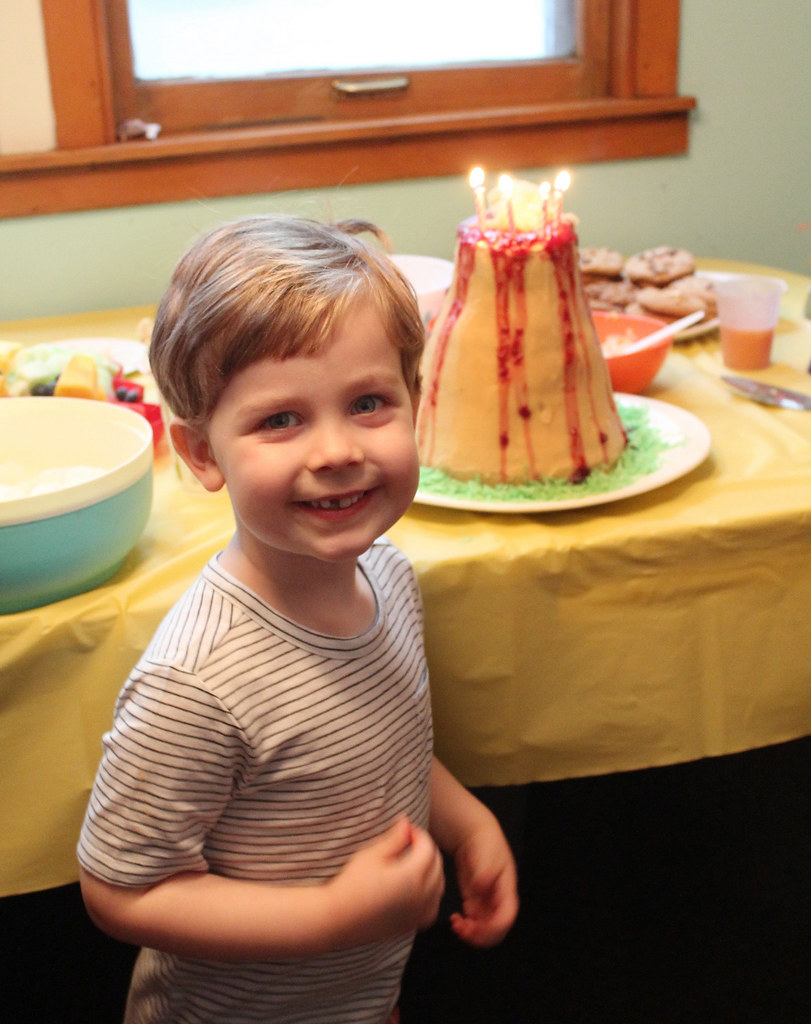
Henry loved it, and we’ll probably be eating off the leftovers for at least the next week. Can’t beat that!

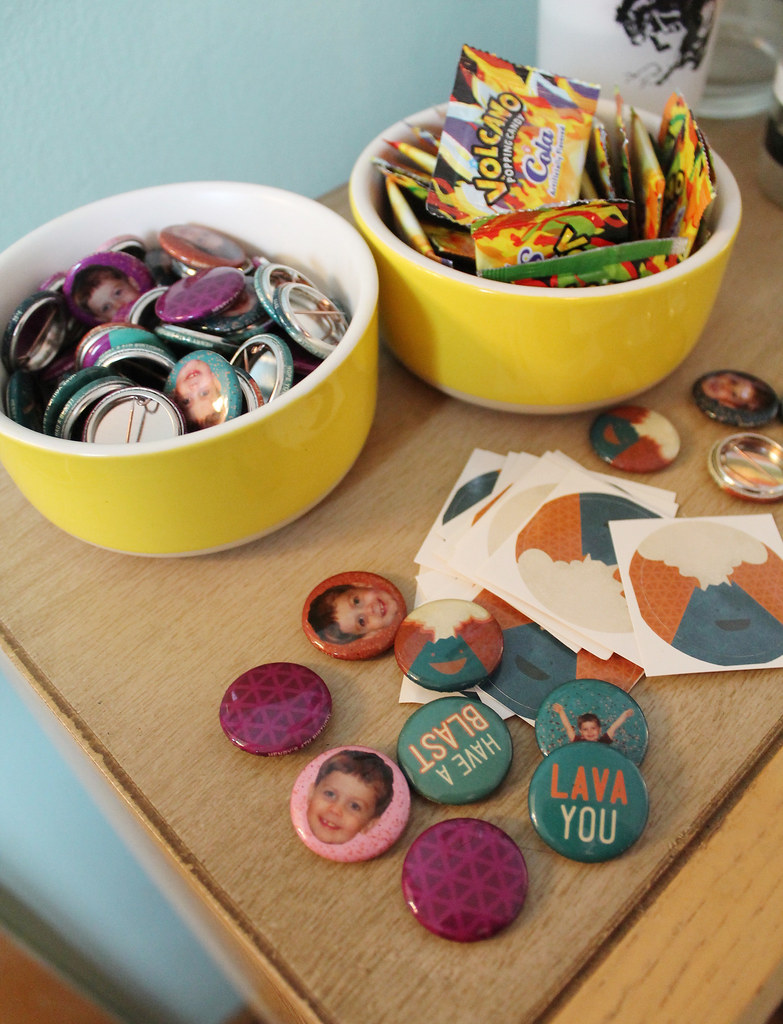
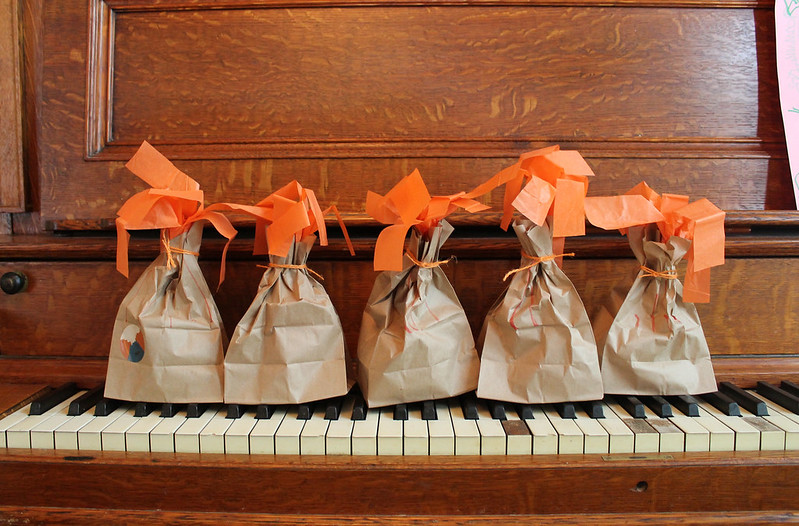
For the rest of the party decorations, I made volcano stickers and buttons to commemorate the day, and we found some popping volcano-themed candy, too. And mountain-shaped goody bags with tissue paper lava were takeaways for the kids who joined us. I think they lava-ed them. Ha!

I figure as long as I keep my over-the-top parent projects to just one a year, we should be good. Last fall had it’s epic creation, and after this cake, I guess I’m at my quota for this year. Stay tuned to see if I actually keep my promise 😉

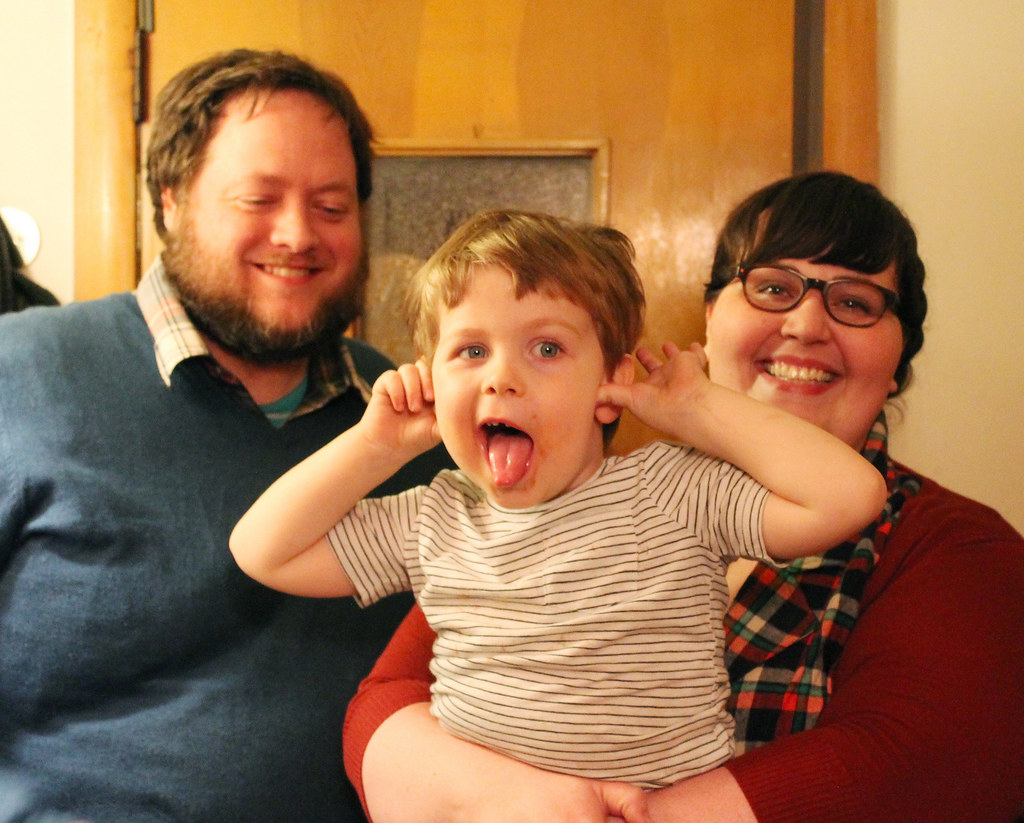
Oh, and here’s to four years with the sweetest, loveliest goofball I’ve ever had the privilege of knowing.

Mending

I was thinking the other day that I don’t think I have ever worn out the knees of a single pair of pants I’ve owned. When I was younger, holes in your jeans was a thing (I’m looking at you, Joey Lawrence). My mom was not about to buy me the kind that came pre-ripped, and the knees were just never an area I seemed to wear out. That said, in the three short years my child has been on the planet (only two of those walking, mind you), I can’t count the number of pants he’s worn the knees out on. It’s amazing how hard he is on his pants, and between the climbing onto counters, impromptu break dance parties and sidewalk trips that happen on a daily basis, it’s no wonder.12577787064_01c0719e01_zOver the weekend I decided to tackle two pairs of Henry’s pants that had recently developed holes in the knees. One thing about the damage he does to his clothes, till now he’s generally grown too fast to make it worthwhile to fix them– by the time he’s worn them through, he’s just about on to the next size anyway. But of the two pants that had been the latest casualties, both still fit relatively well and one of them I’ve formed a bit of an attachment to.

Last winter I bought Henry what at the time was a ridiculously long pair of 2T cords in my favorite mustard yellow. They were one of the first items of clothing he could talk about specifically (“I wear my yellow pant, Mama?”) and he’s worn them weekly or more for over a year. He loves them, I love them, so when the knew split last week I decided to try to see what could be done to save them.

When I was a kid, I remember my mom patching my pants with the stiff patch kits they sell at the grocery store. They came in a stock of four or five rounded plasticy rectangles in colors that were supposed to inconspicuous against your pants but never quite were. I remember they always felt sticky and stiff, and after being fixed the pants were never really the same.

There are plenty of tutorials on Pinterest on mending pants, and one that caught my eye recently was a Japanese sashiko technique. Instead of trying to hide the repair, sashiko embroidery is meant to be both functional and interesting, embracing the mended portion as something that can add to the garment instead of trying to hide it.

I tried my hand on Henry’s two pant legs, adding stitching little crosses to the knees, reinforced by a layer of felt underneath (I’m all about the felt, no surprise). Overall it was a little tough to get the stitches started, and extra difficult because the legs of the pants are so narrow, but once it got going the sewing went quickly. And the results are pretty substantial as far as patches go, but still flexible enough for Henry to wear without much trouble, I think.

We’ll see how they hold up over the long run. And if it goes well, there are plenty of other pants on the verge of losing their knees to perfect the technique soon enough.

Bow Tie Fever

Is there anything cuter than a kid in a bow tie? I think not. Had to share this shot of Henry (and Ben) from a good friend’s wedding last weekend. I decided months in advance that Hen should have a bow tie to wear for the occasion and searched and searched for the perfect one, finally settling on the green gingham number from this Etsy shop. The quality of the bow tie was great and though I was almost sure it would end up as just a photo op item, Henry didn’t even seem to notice he was even wearing it the whole day. Score one for Mama’s Big Plans.

If you’re looking for a baby bow tie of your own, I’d recommend checking out Kinder and Mama Mandolin for other adorable choices. Now, somebody quick have a wedding in different season so I can buy another one ; )

Thrifting Love

The thrifting spirits have been kind to me lately, bringing some really awesome finds my way. We like to go thrifting on the weekends, especially for 50% off Saturday mornings at my favorite spot, and had good luck at a Salvation Army in the ‘burbs we stumbled upon the other day. Nothing like suburban grandma junk to warm this gal’s heart.

Vintage atomic pattern tablecloth (which has doubled as a backdrop for a couple of baby photoshoots already), flower power serving dish and Fisher Price farm playset (our fourth from this series!). That was a good day.

One of three vintage overalls I found for Henry. The other two he’ll have to grow into, but this little sailboat number should fit him by the end of the summer. LITTLE SAILBOATS!

Just the other day, while we were packing a picnic for a Memorial Day BBQ, I thought “Wouldn’t this be easier if I didn’t have to worry about breaking the good plates we brought along?” and lo and behold, we came upon this set of vintage picnic plates. The yellow planter I spotted from outside the door as we were walking up to the Salvation Army and I announced to Ben that I’d be buying it. It didn’t disappoint once we got inside, so did indeed come back with us.

Onesies to Dye For

Craft time is in somewhat short supply these days, but I found a bit of free time over Memorial Day weekend (yeah, I’m a little behind on blogging, too) as the perfect excuse to work on some projects I’ve been meaning to try. First on the agenda was a onesie dyeing project, inspired by this post. My mom gave us a pack of simple white onesies at Henry’s baby shower a few weeks ago to do something with, and they were the perfect excuse to buy some Rit and get to work.

As the resident arts and crafts ringleader at countless after school programs and summer camps, I’ve certainly done my share of tie-dyeing in the past, so I had to give it a shot with one of Henry’s outfits. I wasn’t quite ready to commit to a hippie rainbow baby, but the indigo blue dye was so gorgeous against the white, I couldn’t resist at least one tie-dyed version. Unfortunately I forgot the important step where you wash the extra dye out of the fabric before unwrapping it, so this crisp white and blue version shown above isn’t quite accurate anymore, but the light purple and dark blue version we’ve got now is still quite nice.

 Even the rubber bands got tie-dyed. Pretty!

The other two onesies were ombre dyed using this tutorial. I really love how they turned out– sweet and simple, but with a little bit of extra visual interest. It was also nice to think that if I didn’t like how they turned out, I could always just dye them all a solid color anyway.

One of the final results on Mr. Man himself. I find it slightly amusing that the yellow is darkest around his bottom half where he is often yellow (inside his diaper anyway).

The blue/purple version on Memorial Day. It’s tough work looking this hip.